


How to Manage Osquery With Kolide Launcher and Fleet
In this article, I want to walk-through setting up a local Kolide Fleet server with a local instance of osquery via the Kolide Launcher. Before you dig in, I highly recommend you read our Fleet and Launcher announcement blog posts. This tutorial will build both tools from source to illustrate how to interact with the open-source repositories. First, let’s clone the Fleet repository from GitHub:
$ cd $GOPATH/src/github.com/kolide
$ git clone git@github.com:kolide/fleet.git
$ cd fleet
From the root of the repository, let’s install the application dependencies, generate the JavaScript bundle, and build the binary
$ make deps
$ make generate
$ make
Now, we will test this locally. We’re going to have to do something about the infrastructure requirements (database and cache). The Fleet repo includes Docker Compose tooling for this exact reason. Start the infrastructure with the following command:
$ docker-compose up
To set up the database schema of your new Fleet instance, use the fleet command:
$ ./build/fleet prepare db
Migrations completed.
Now, to run the server locally, the only required flag is --auth_jwt_key
which defines the key used for session tokens. For example, you may run:
./build/fleet serve --auth_jwt_key=3zqHl2cPa0tMmaCa9vPSEq6dcwN7oLbP
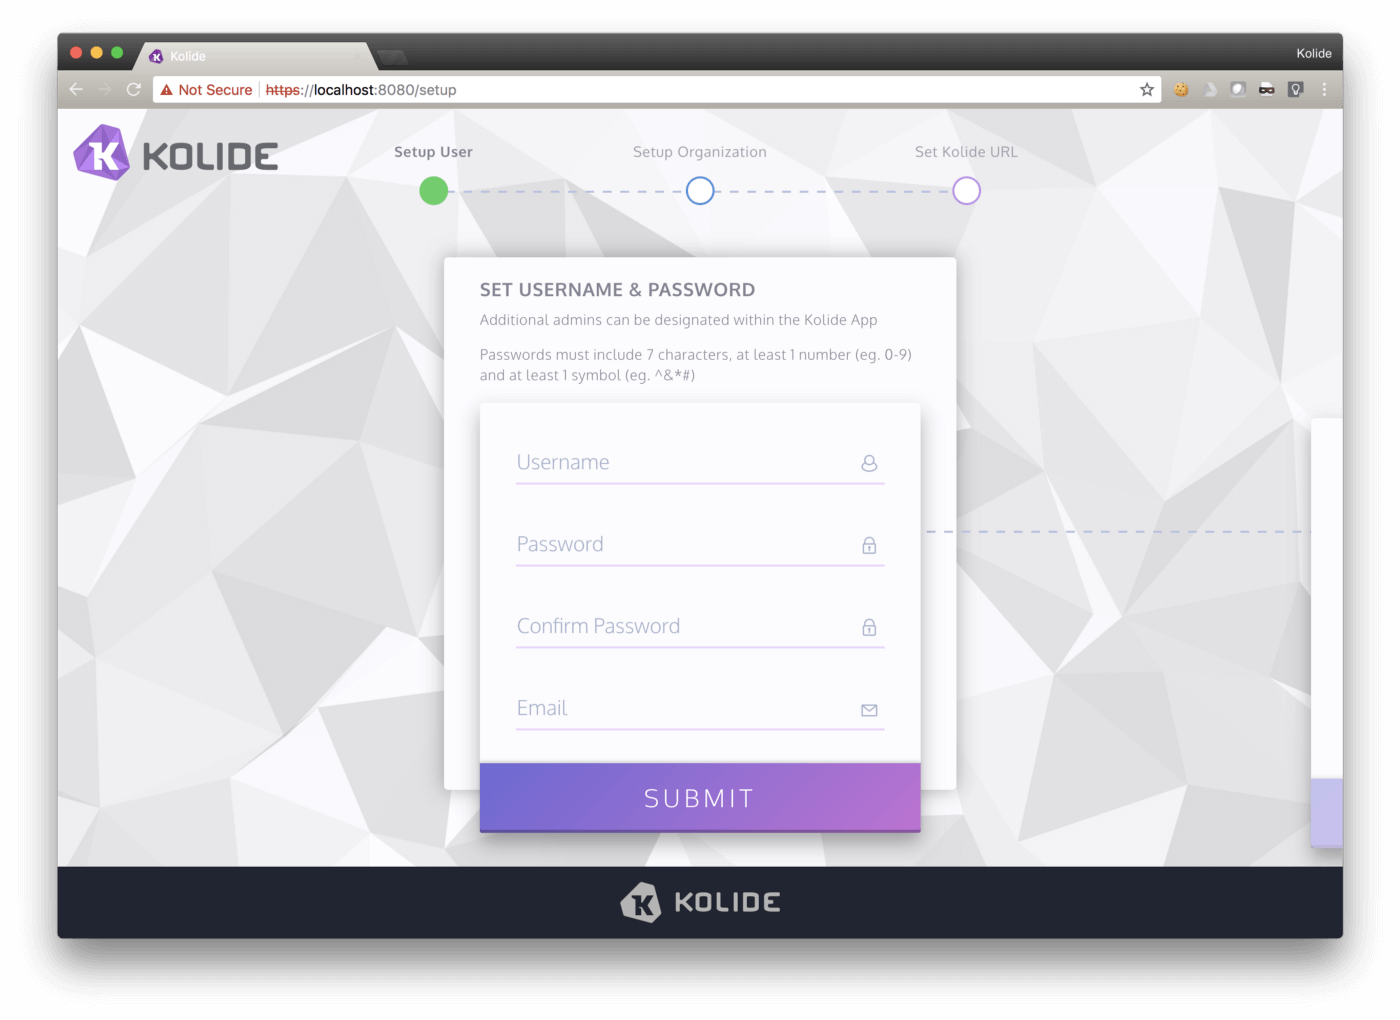
Note that in production, this value can also be set via environment variables or a config file. Now if you browse to https://localhost:8080, you should see the interactive setup flow:
After you create your account and log in, you will be able to pull up the “Add New Host” screen, which should look like:
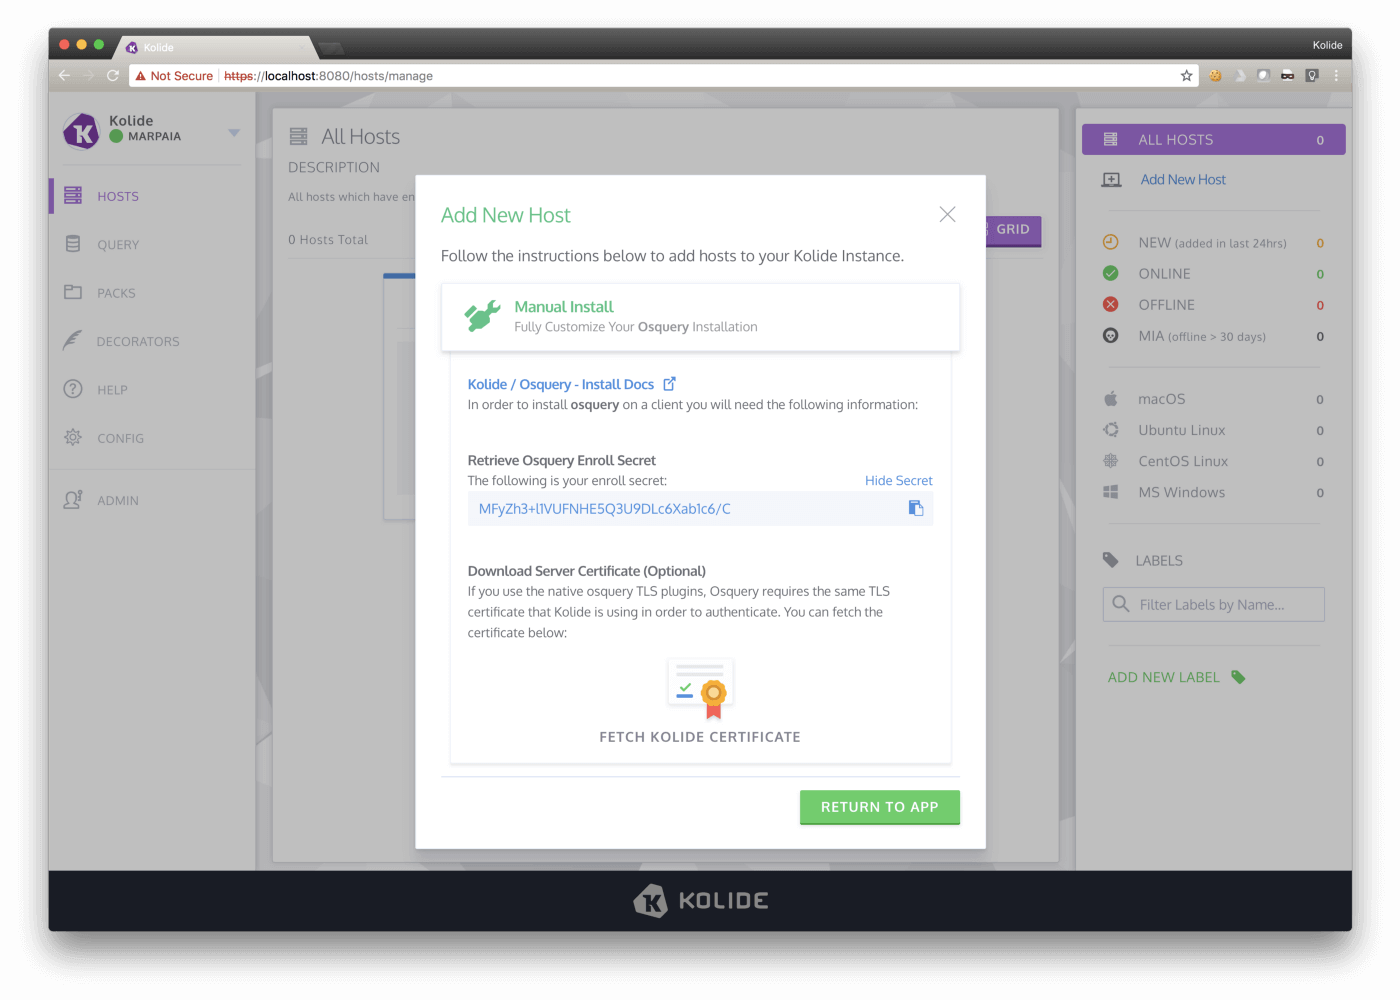
Select “Reveal Secret” and you will be able to see and copy your Fleet server’s enroll secret. You’ll need this to connect a Launcher to Fleet.
Now let’s connect a host via Launcher. For the sake of this example, we will also build Launcher from source. First, we must clone the repository:
cd $GOPATH/src/github.com/kolide/
git clone git@github.com:kolide/launcher.git
cd launcher
Now, we follow a similar flow to Fleet in order to install the dependencies and build the binaries:
make deps
make
./build/launcher --help
Assuming you have the osqueryd installed on your local host (https://osquery.io/downloads/), you can run the following to connect to Fleet:
./build/launcher --debug \
  --hostname=localhost:8080 \
  --enroll_secret="MFyZh3+l1VUFNHE5Q3U9DLc6Xab1c6/C" \
  --insecure
We include --insecure because the TLS certificate we’re using for
locahost:8080 does not have a trusted signature.
After running this command, you should see the host appear in the web UI:
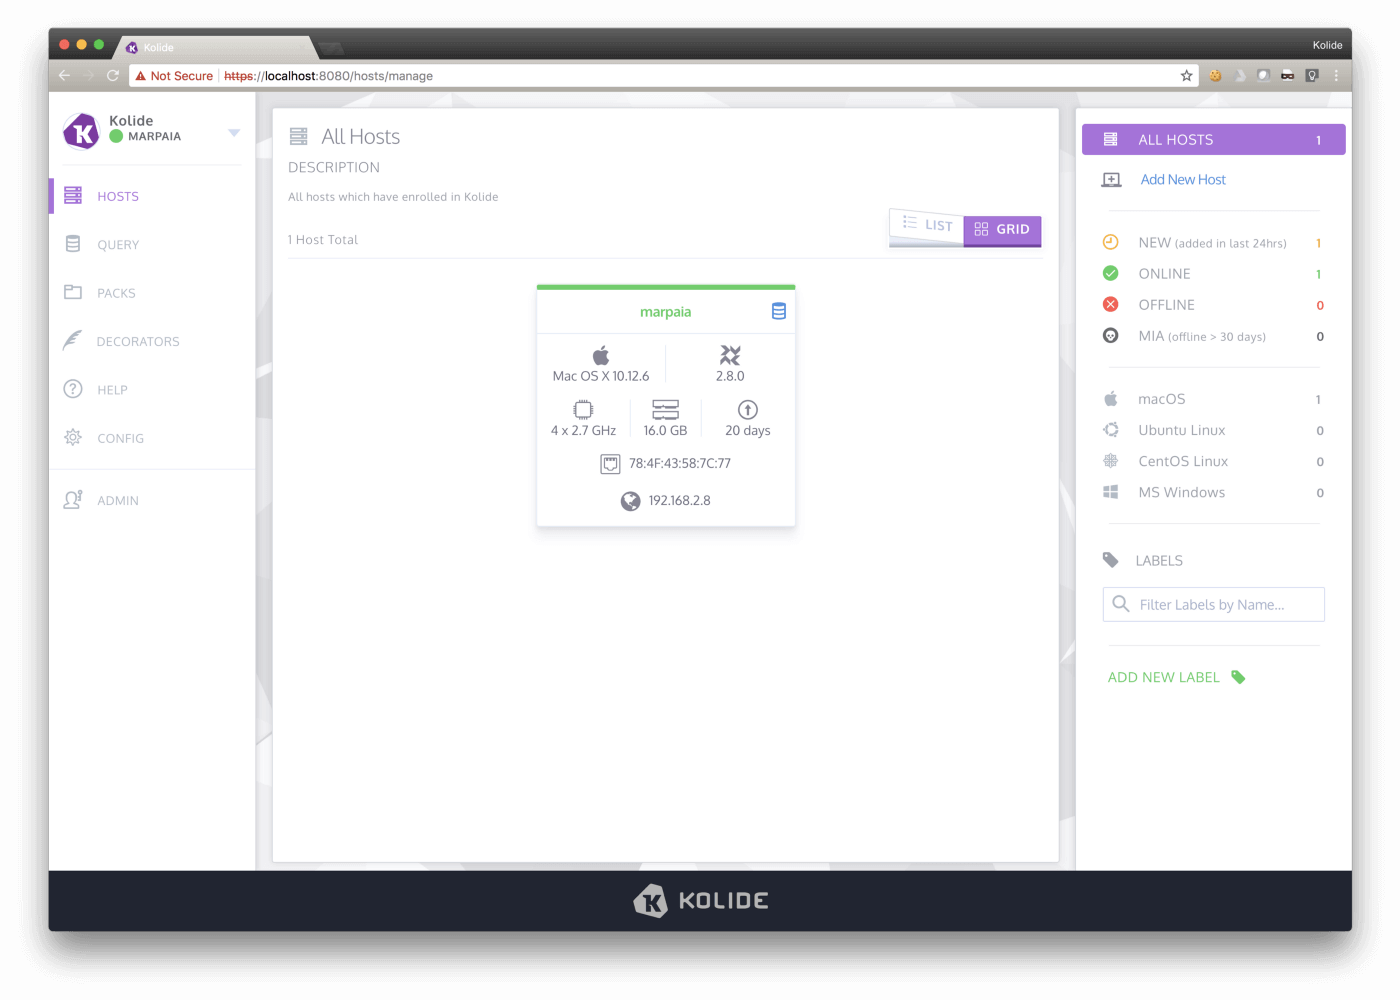
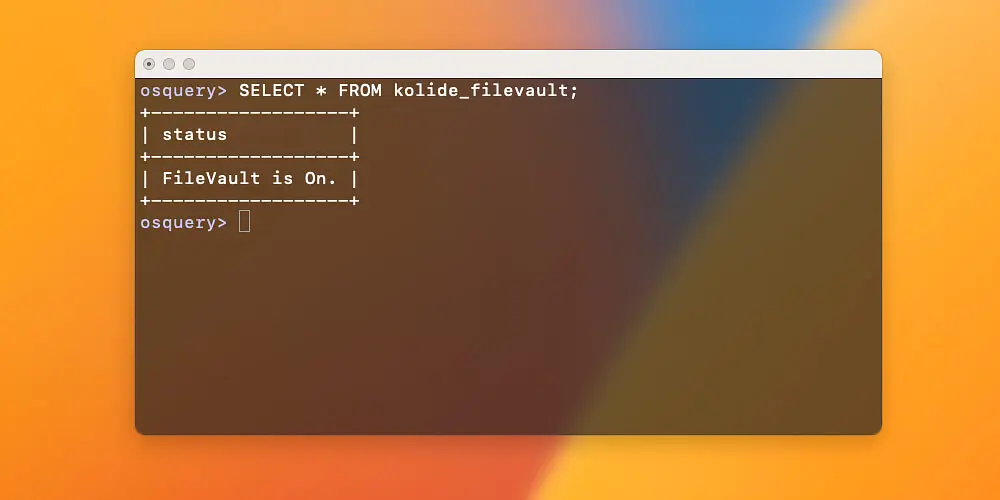
Feel free to pause here and go play with the host you’ve just enrolled! Click the little database symbol on the host card to run a live query.
Now, let’s assume you want to get your co-workers enrolled in this too. You need to build a package and send it to them. Luckily, the Launcher includes a tool to generate cross-platform packages for your environment. To build the tool, run the following from the root of the Launcher repo:
make deps
make package-builder
./build/package-builder make --help
First, build a package that will install osquery and connect it to the local
Fleet instance that running on https://localhost:8080.
Obviously the hostname will be different when you actually deploy Fleet in
production, but it’s easy enough to play with the tools, so let’s give it a try!
All you have to do is call ./build/package-builder make with the same
flags you passed to the Launcher:
./build/package-builder make \
  --hostname=localhost:8080 \
  --enroll_secret="MFyZh3+l1VUFNHE5Q3U9DLc6Xab1c6/C" \
  --insecure
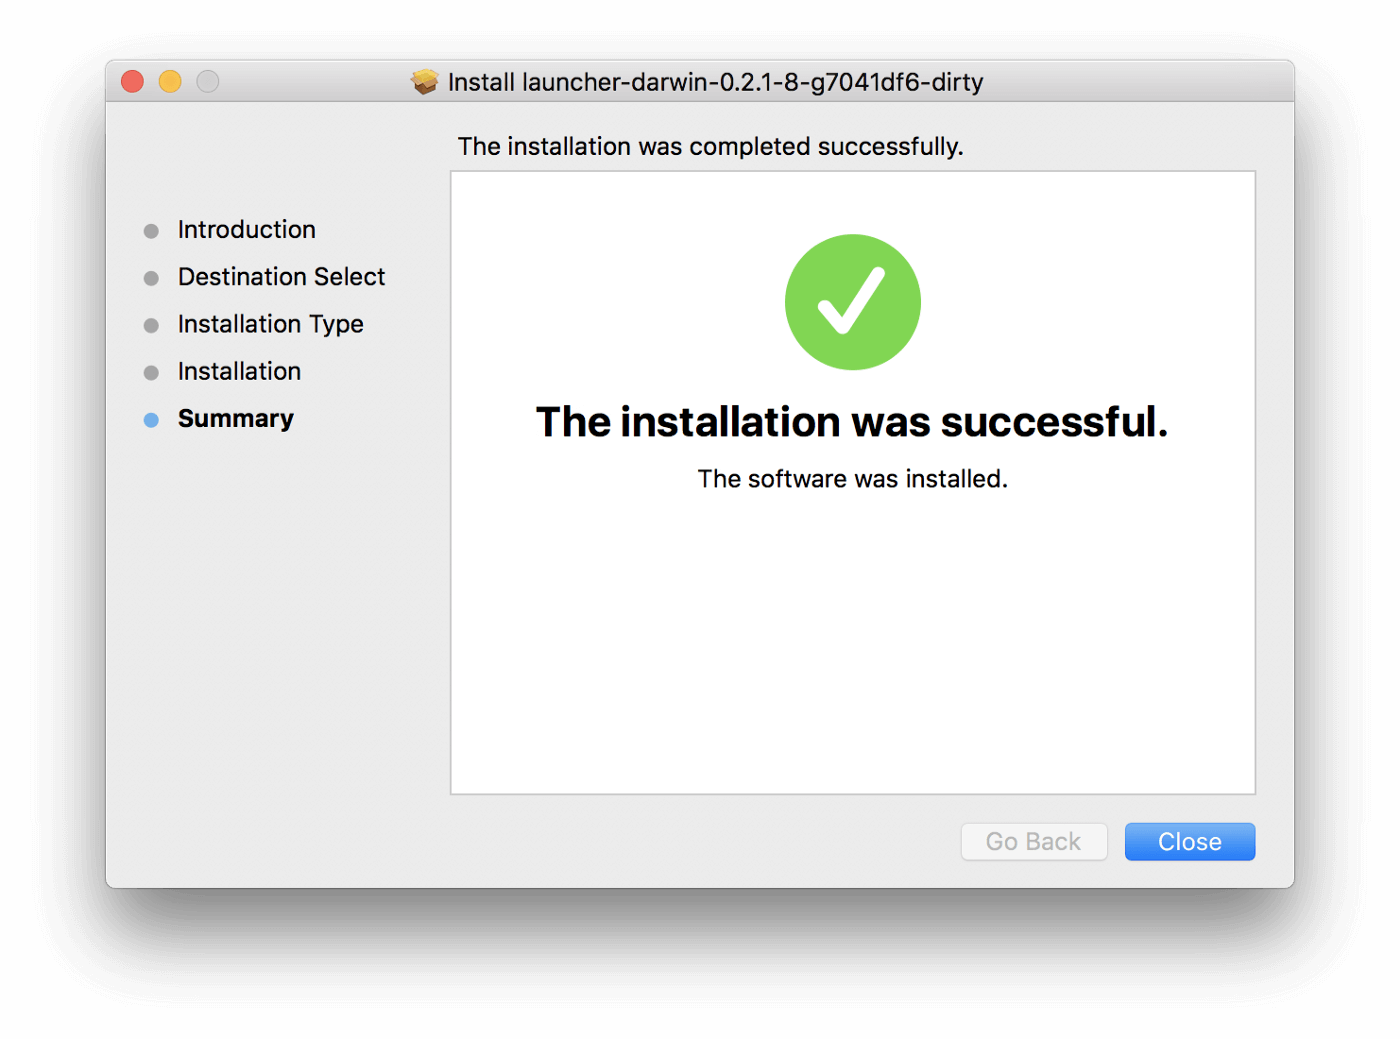
This will print out a list of package paths. Open and install the macOS package.
You should now see another instance of your host in Fleet:
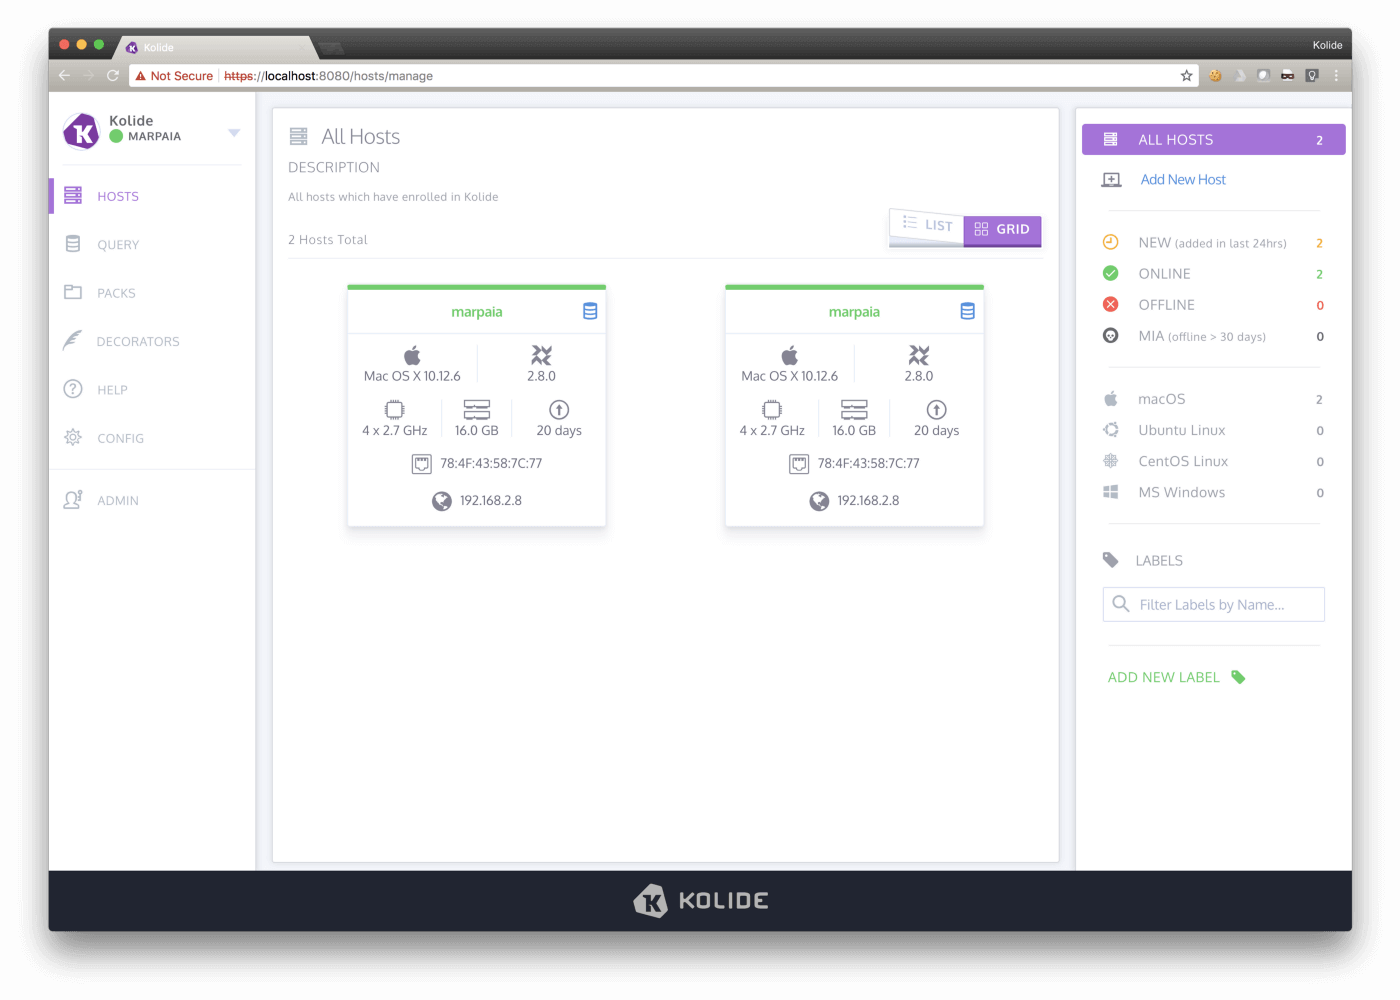
If this was your actual Kolide Fleet instance, you could easily deploy out this package to all of the macOS users in your company and they would be enrolled with an autoupdating osquery package! For more information on deploying Fleet in production, see the Fleet Infrastructure Documentation.