Configuring Splunk HEC
The Splunk HTTP Event Collector allows you to easily stream logs from Kolide directly into your Splunk instance in a format suitable for ingestion.
Splunk Prerequisites
Before you get started, you will need to enable HEC and generate an HEC token.
The steps to enable HEC vary based on your Splunk instance. To enable HEC, read Splunk’s documentation.
How to Configure Kolide
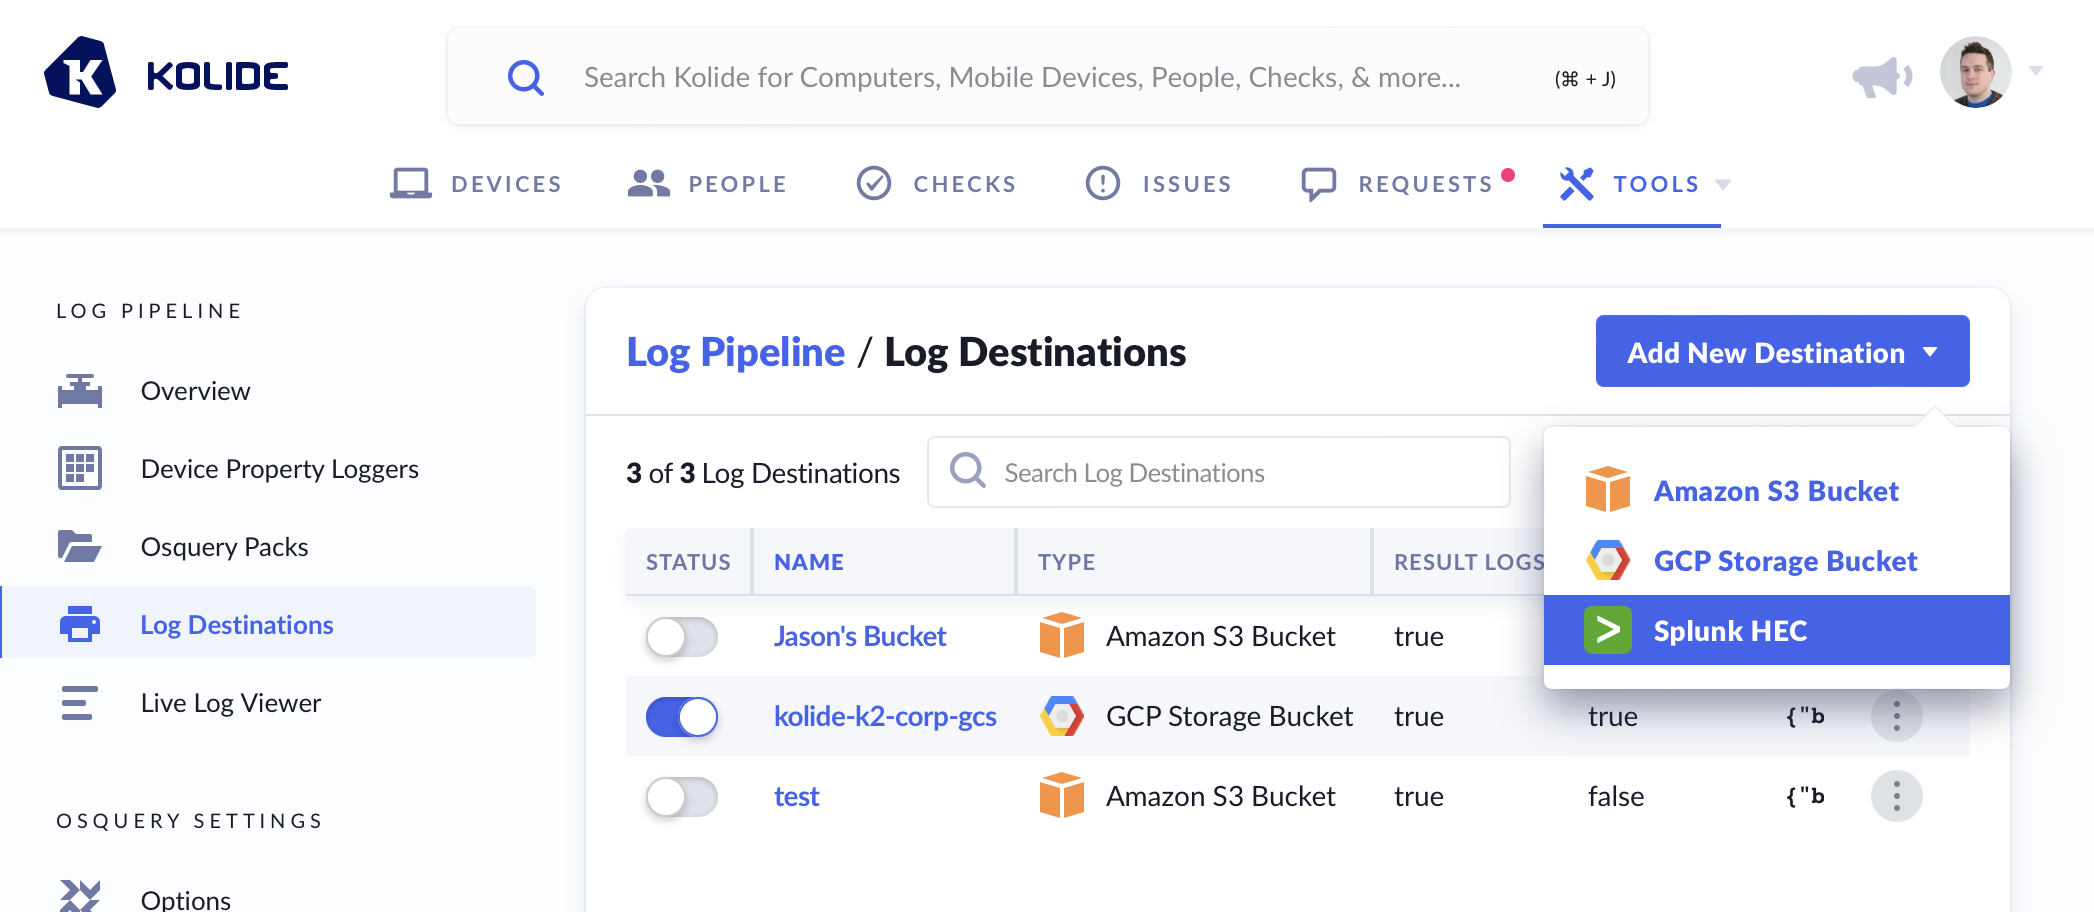
From the Log Destinations list view:
- Click Add New Destination
- Click Splunk HEC

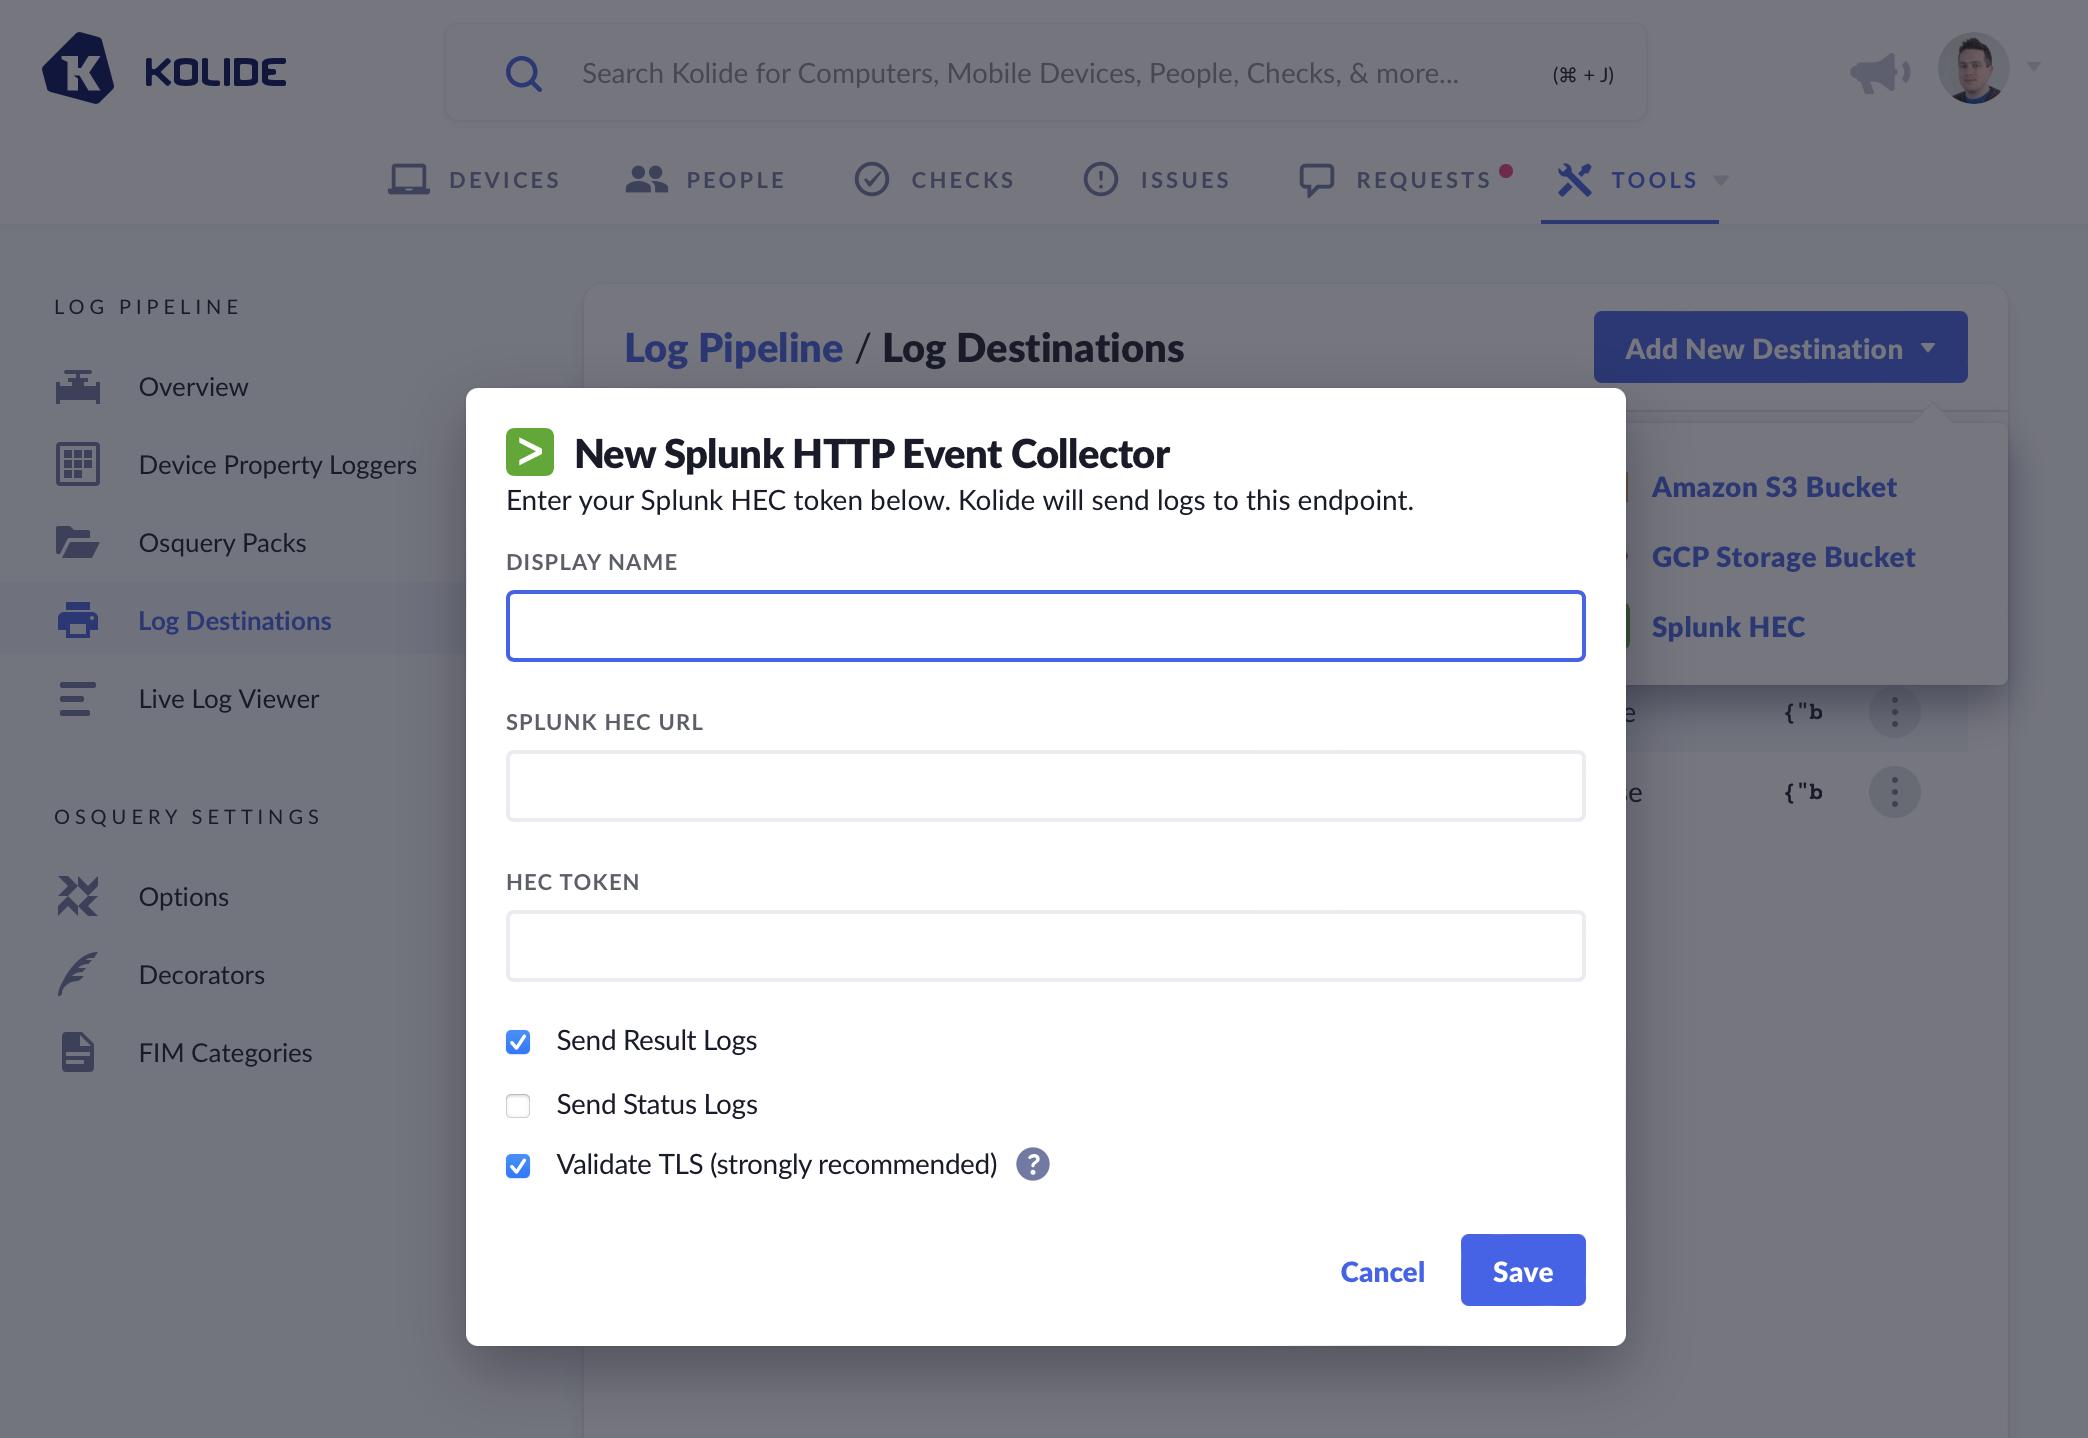
In the configuration modal that appears:

Provide a Display Name for your HEC. This will help you differentiate it from your other configured log destinations.
Provide the secret token for your Splunk HEC.
Provide the URL endpoint for your Splunk HEC. Since the exact URL format can differ based on version, consult Splunk’s documentation to ensure you are using the correct one.
Hint:Generally, if you are using Splunk Cloud, the URLs follow the format
https://[input or http-input]-<SPLUNK INSTANCE URL>.cloud.splunk.com:<PORT>/services/collector/event.Choose whether to send either (or both) Status Logs and Result Logs.
Click Save
If you find this to be a problem (you’ll see an error notice after you save the form), try un-checking this box.
Once you click Save, Kolide will send a test event to your Splunk instance. The event should look like this:
{
  "event": {
    "key": "kolide_testing",
    "ts": "2020-06-02T19:13:54.022Z"
  }
}
If your Splunk instance does not respond successfully, you will see an error message informing you of the failure.